
Scheduling links are on the Professional plan; on the Hobby plan the Scheduling button is hidden (see Plans and limits). Creating events on the calendar by hand works on every plan.
Pick a link type
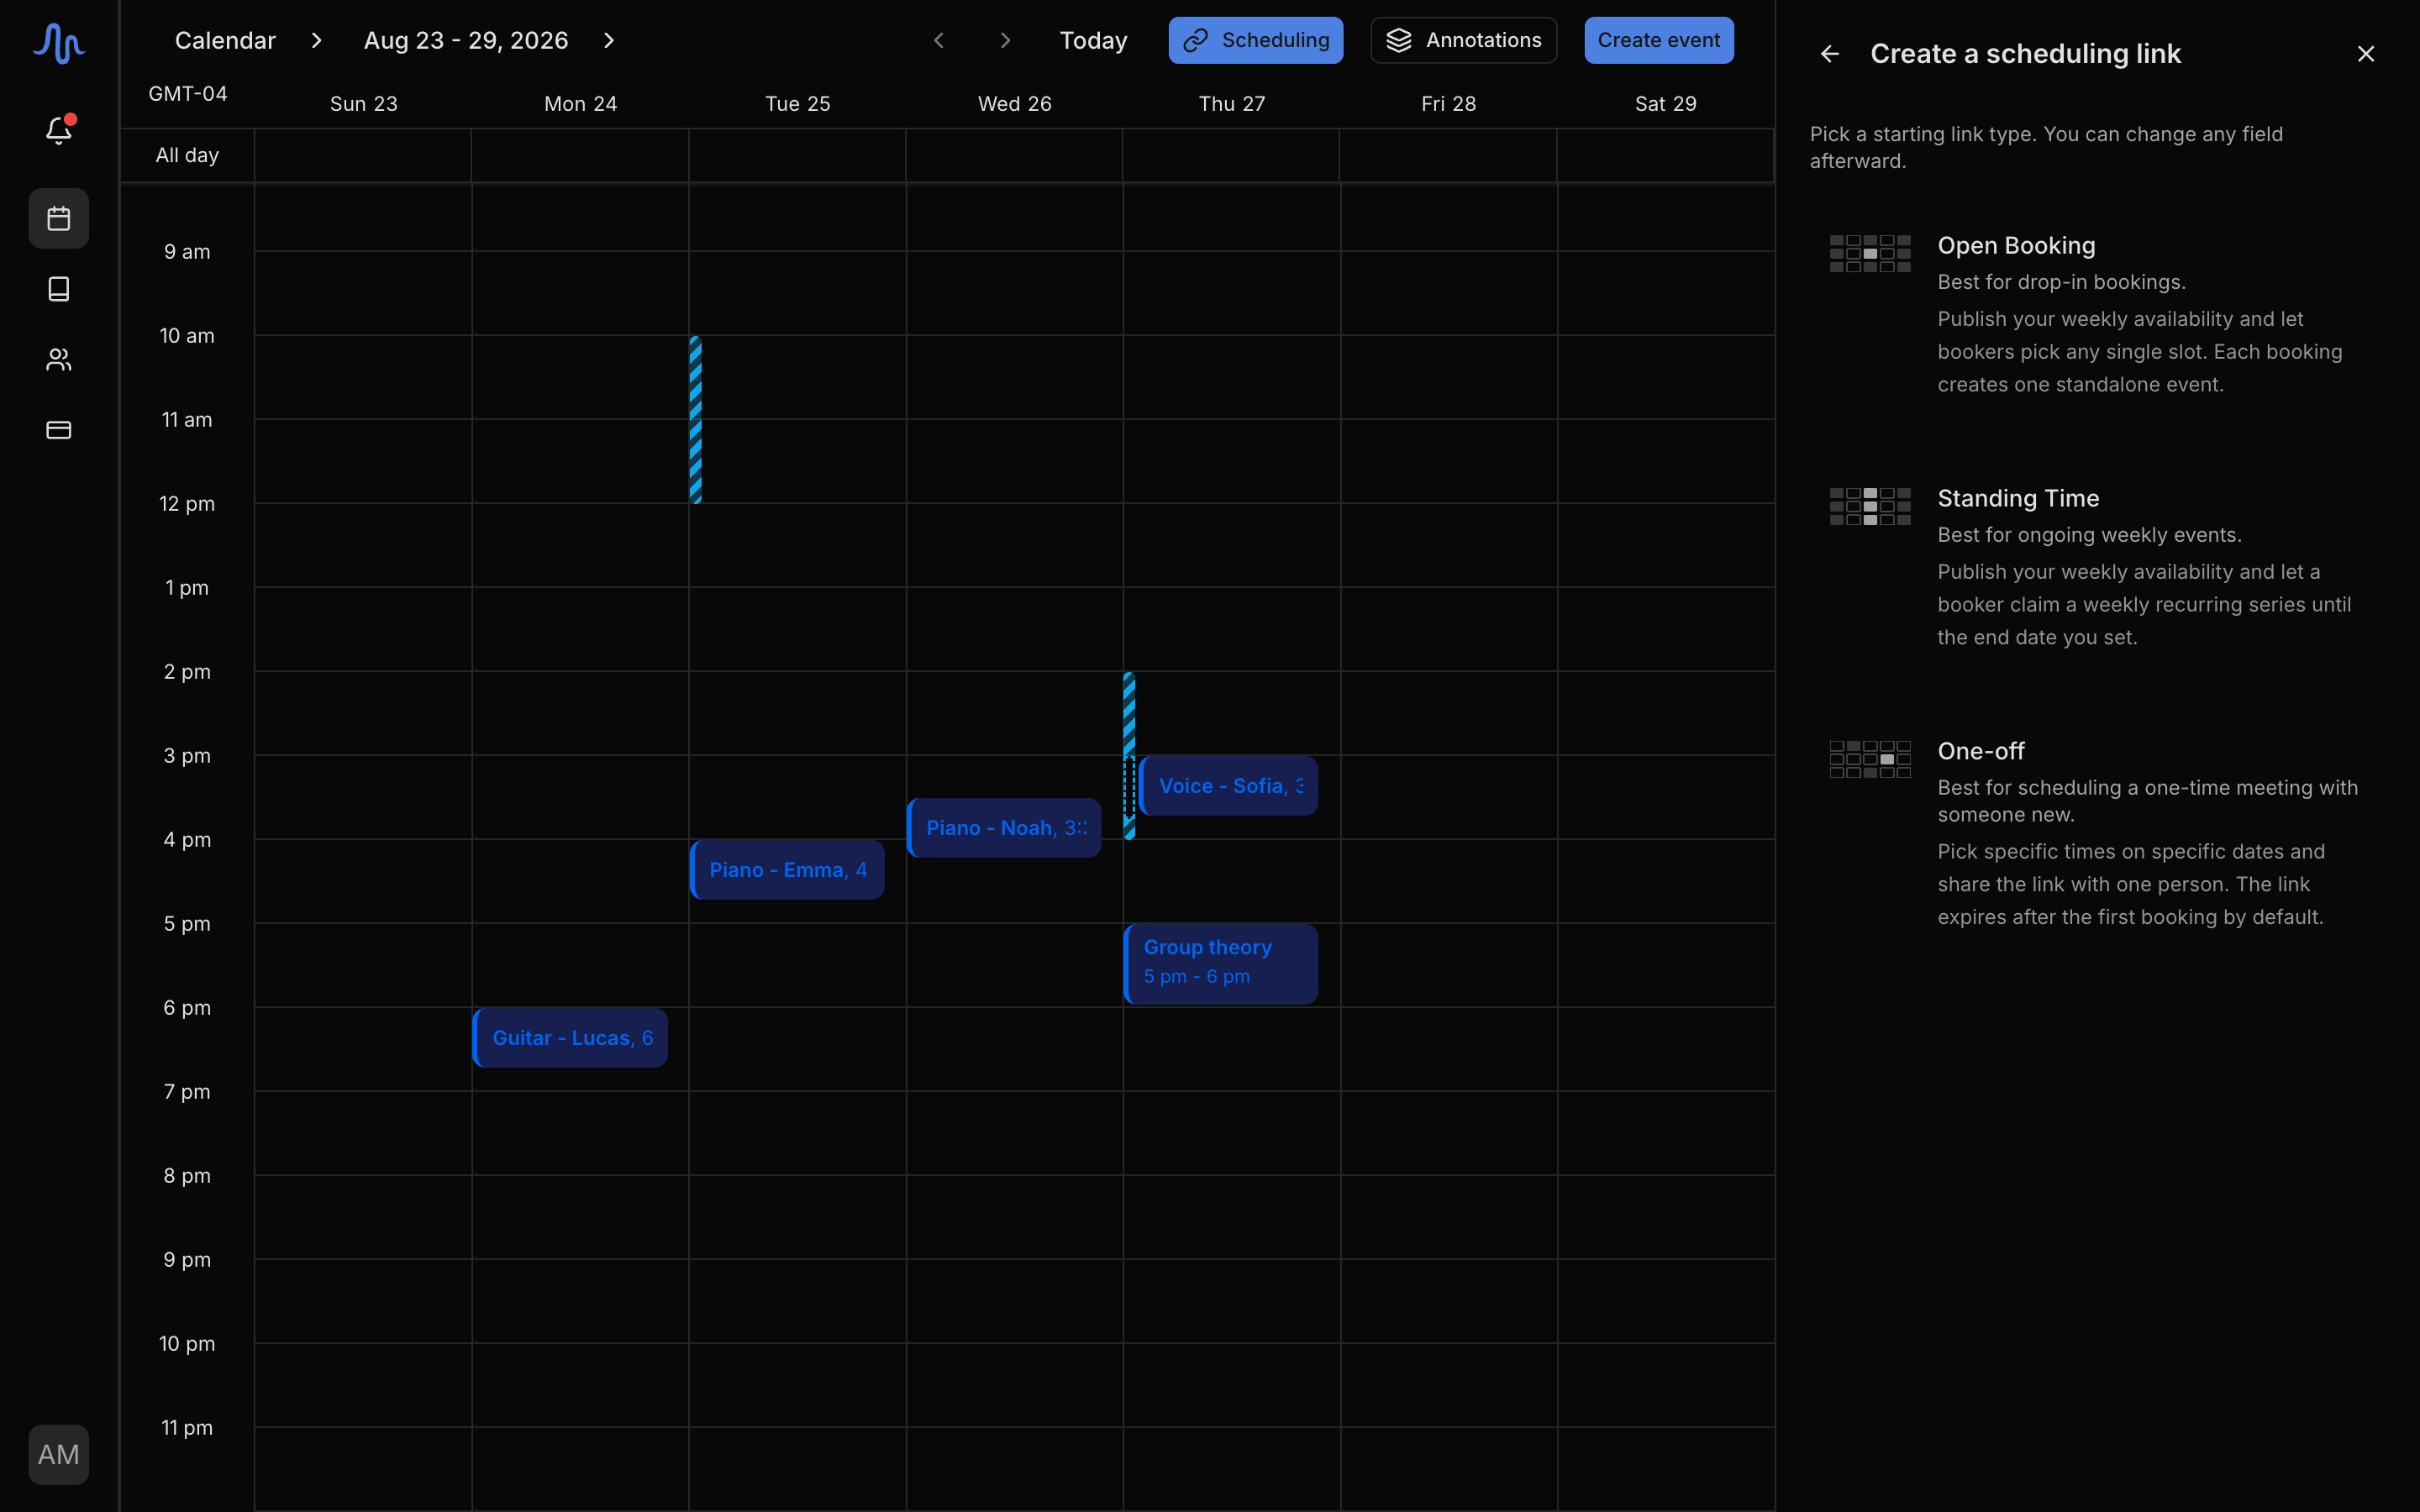
Start from one of three shapes. Every setting stays editable afterward, so the type is just a starting point.Create and share a link
1
Open the Scheduling panel
Click Scheduling in the calendar header. The panel slides in on the right and shows your existing links.
2
Start a new link
Click the + (Create link) button, then pick Open Booking, Standing Time, or One-off on the Create a scheduling link screen.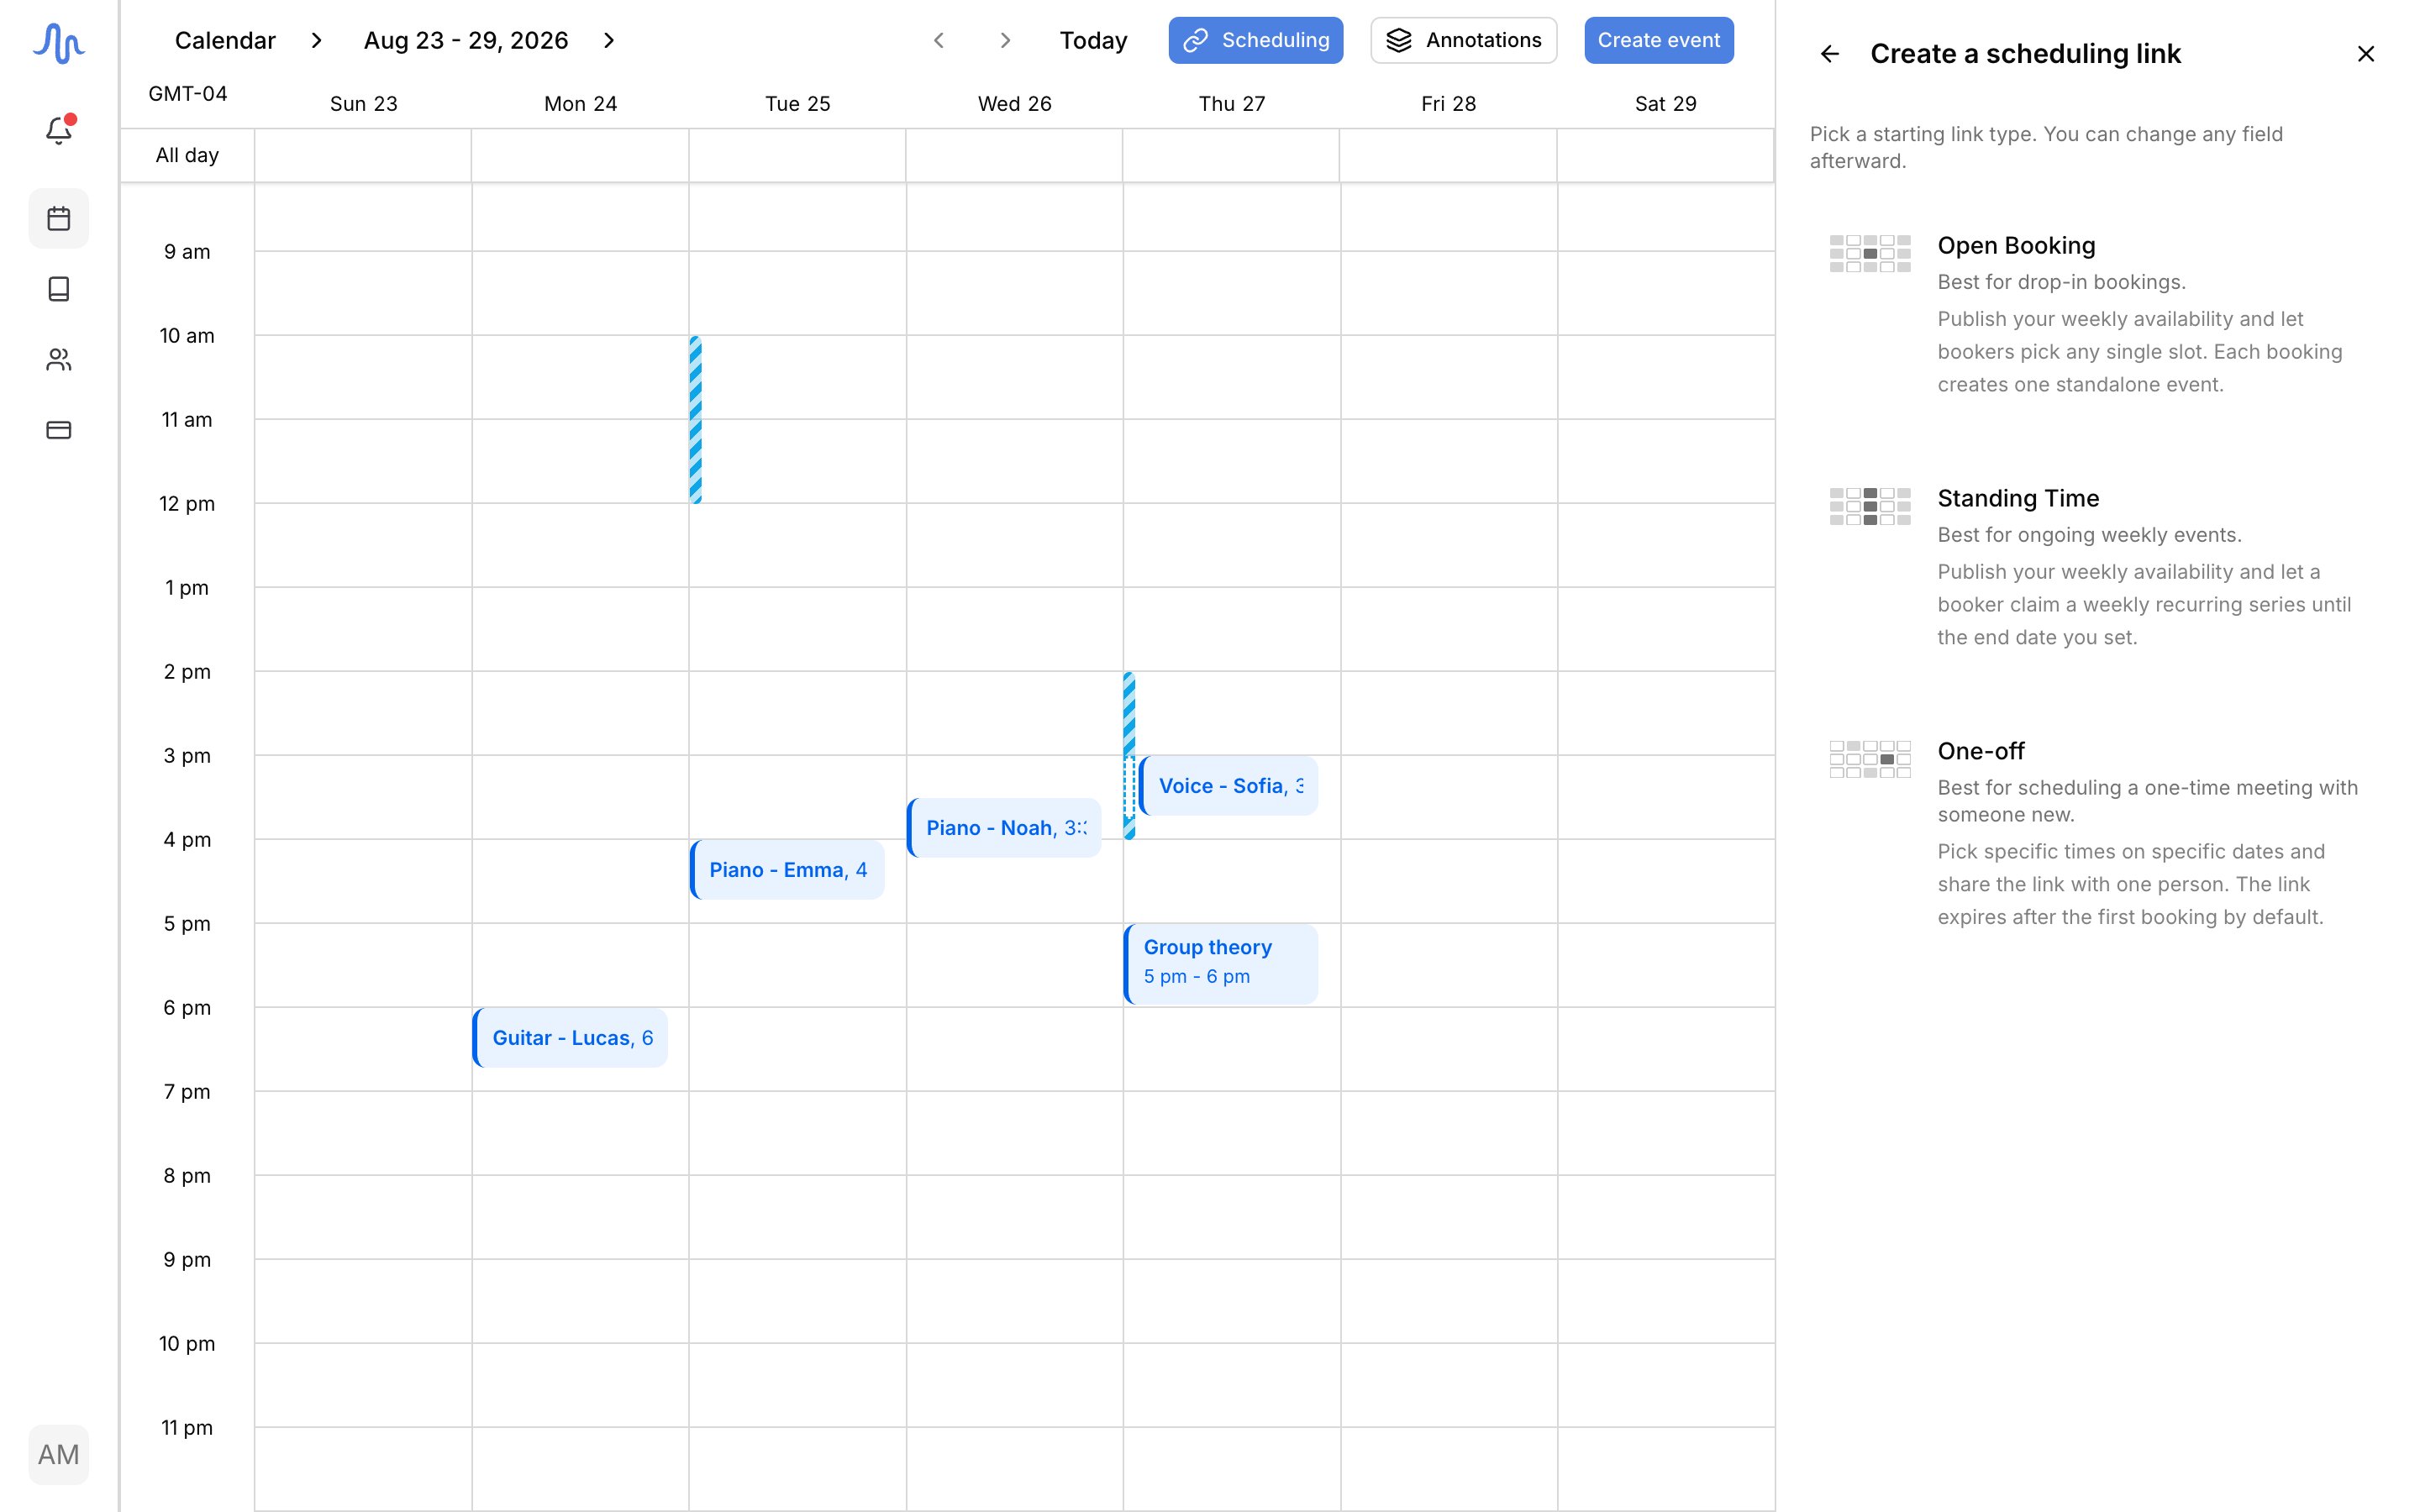
3
Set your availability
Choose when people can book. Pick Weekly windows for times that repeat every week, or Ad-hoc windows for specific dates. Add windows in the form, or drag on the calendar grid while the link is open.
4
Tune the details
Two settings matter most: Event Duration (how long each booked slot runs) and Avoid calendar conflicts (hides slots you’re already busy in). The full settings table covers the rest. Changes save as you go.
5
Share the link
Use Copy link to grab the booking URL, or Copy with message to paste it with your note. Hand it to the student or family however you like.
Settings you can change
Lesson bookings vs plain bookings
The Payment setting decides what a booking becomes, and it’s the biggest fork on the link:- Bookings become lessons: the event lands on your calendar right away, and the booking also waits in Pending Bookings so you can match the booker to a student. Once matched, the lesson carries attendance and billing like any other.
- Plain bookings (not lessons): the event lands on your calendar and that’s it. Nothing to review, nothing billed. Use this for consults, trials you don’t charge for, or non-teaching appointments.
When someone books
The booker picks a slot and confirms with their name and email. Then:- The event appears on your calendar immediately.
- The booker gets a confirmation email with the time (in your studio timezone) and a calendar invite they can add with one tap.
- You get an email with who booked and a link to your calendar. Replying to it replies to the booker.
Availability bars on the calendar
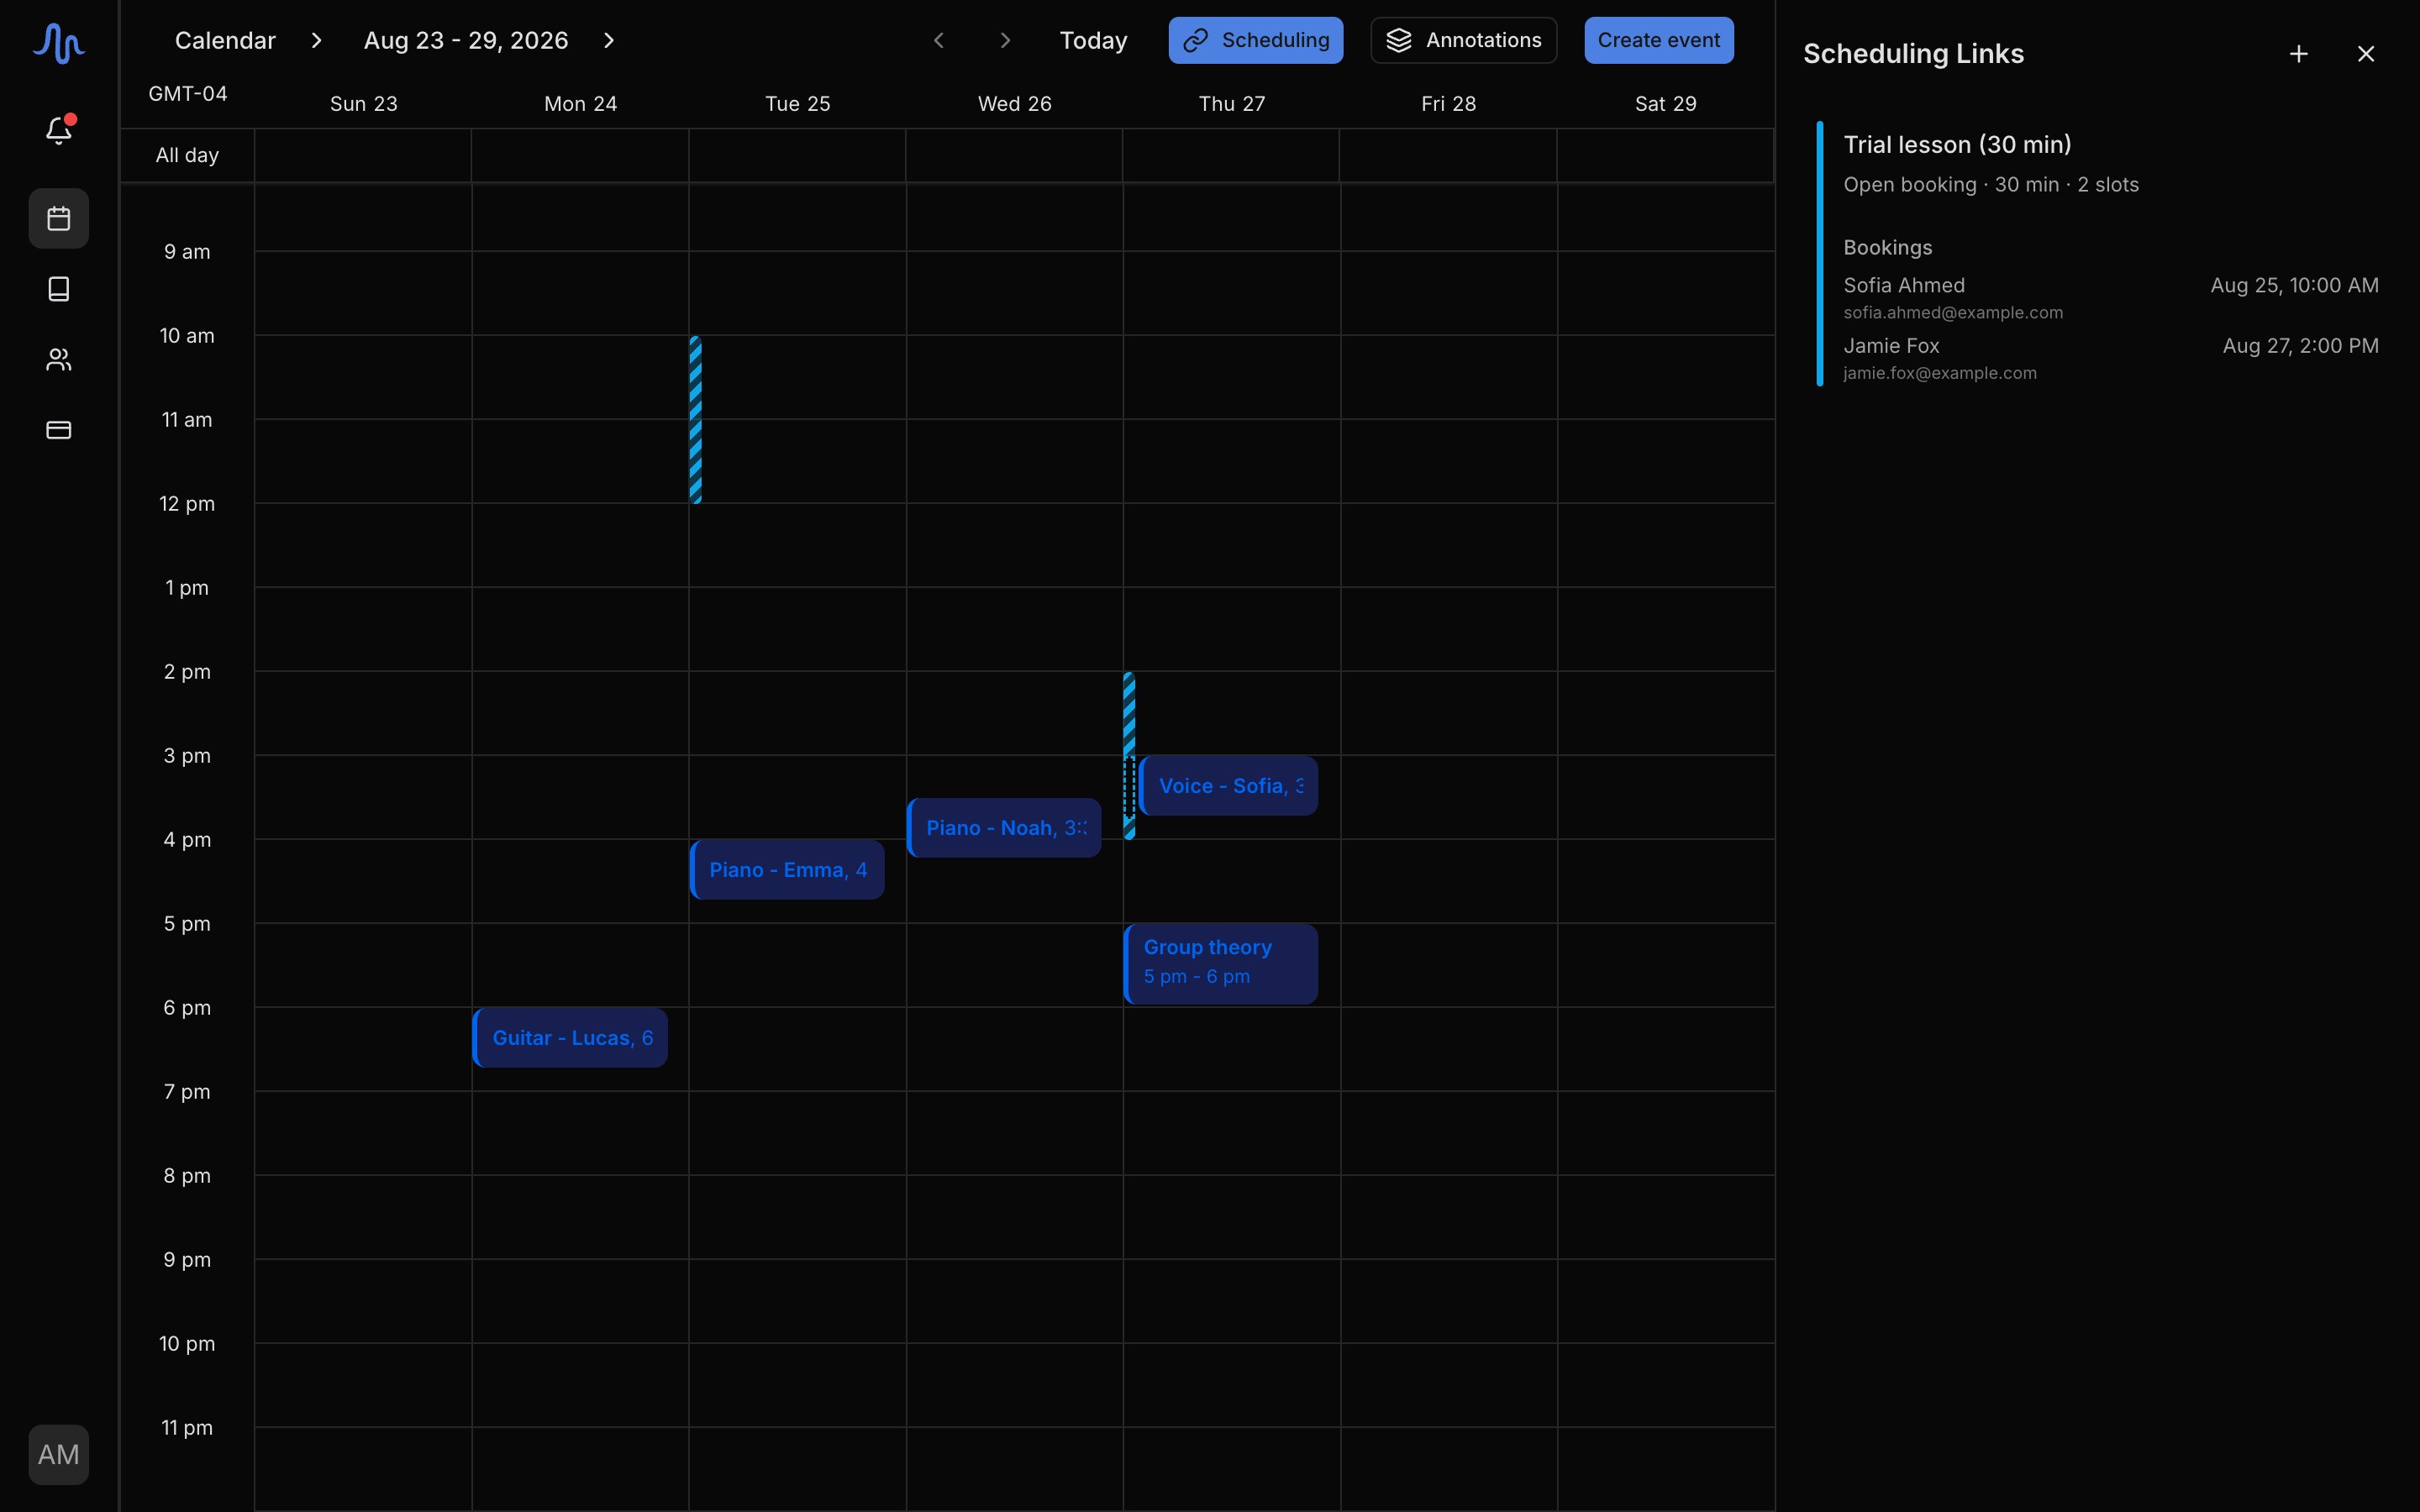
Every active link shows its windows as colored bars in the gutter down the left edge of the week grid, in the color you set on the link. Click a bar to jump to that link’s settings. Use the eye icon on a link in the list to hide its bars without deleting anything.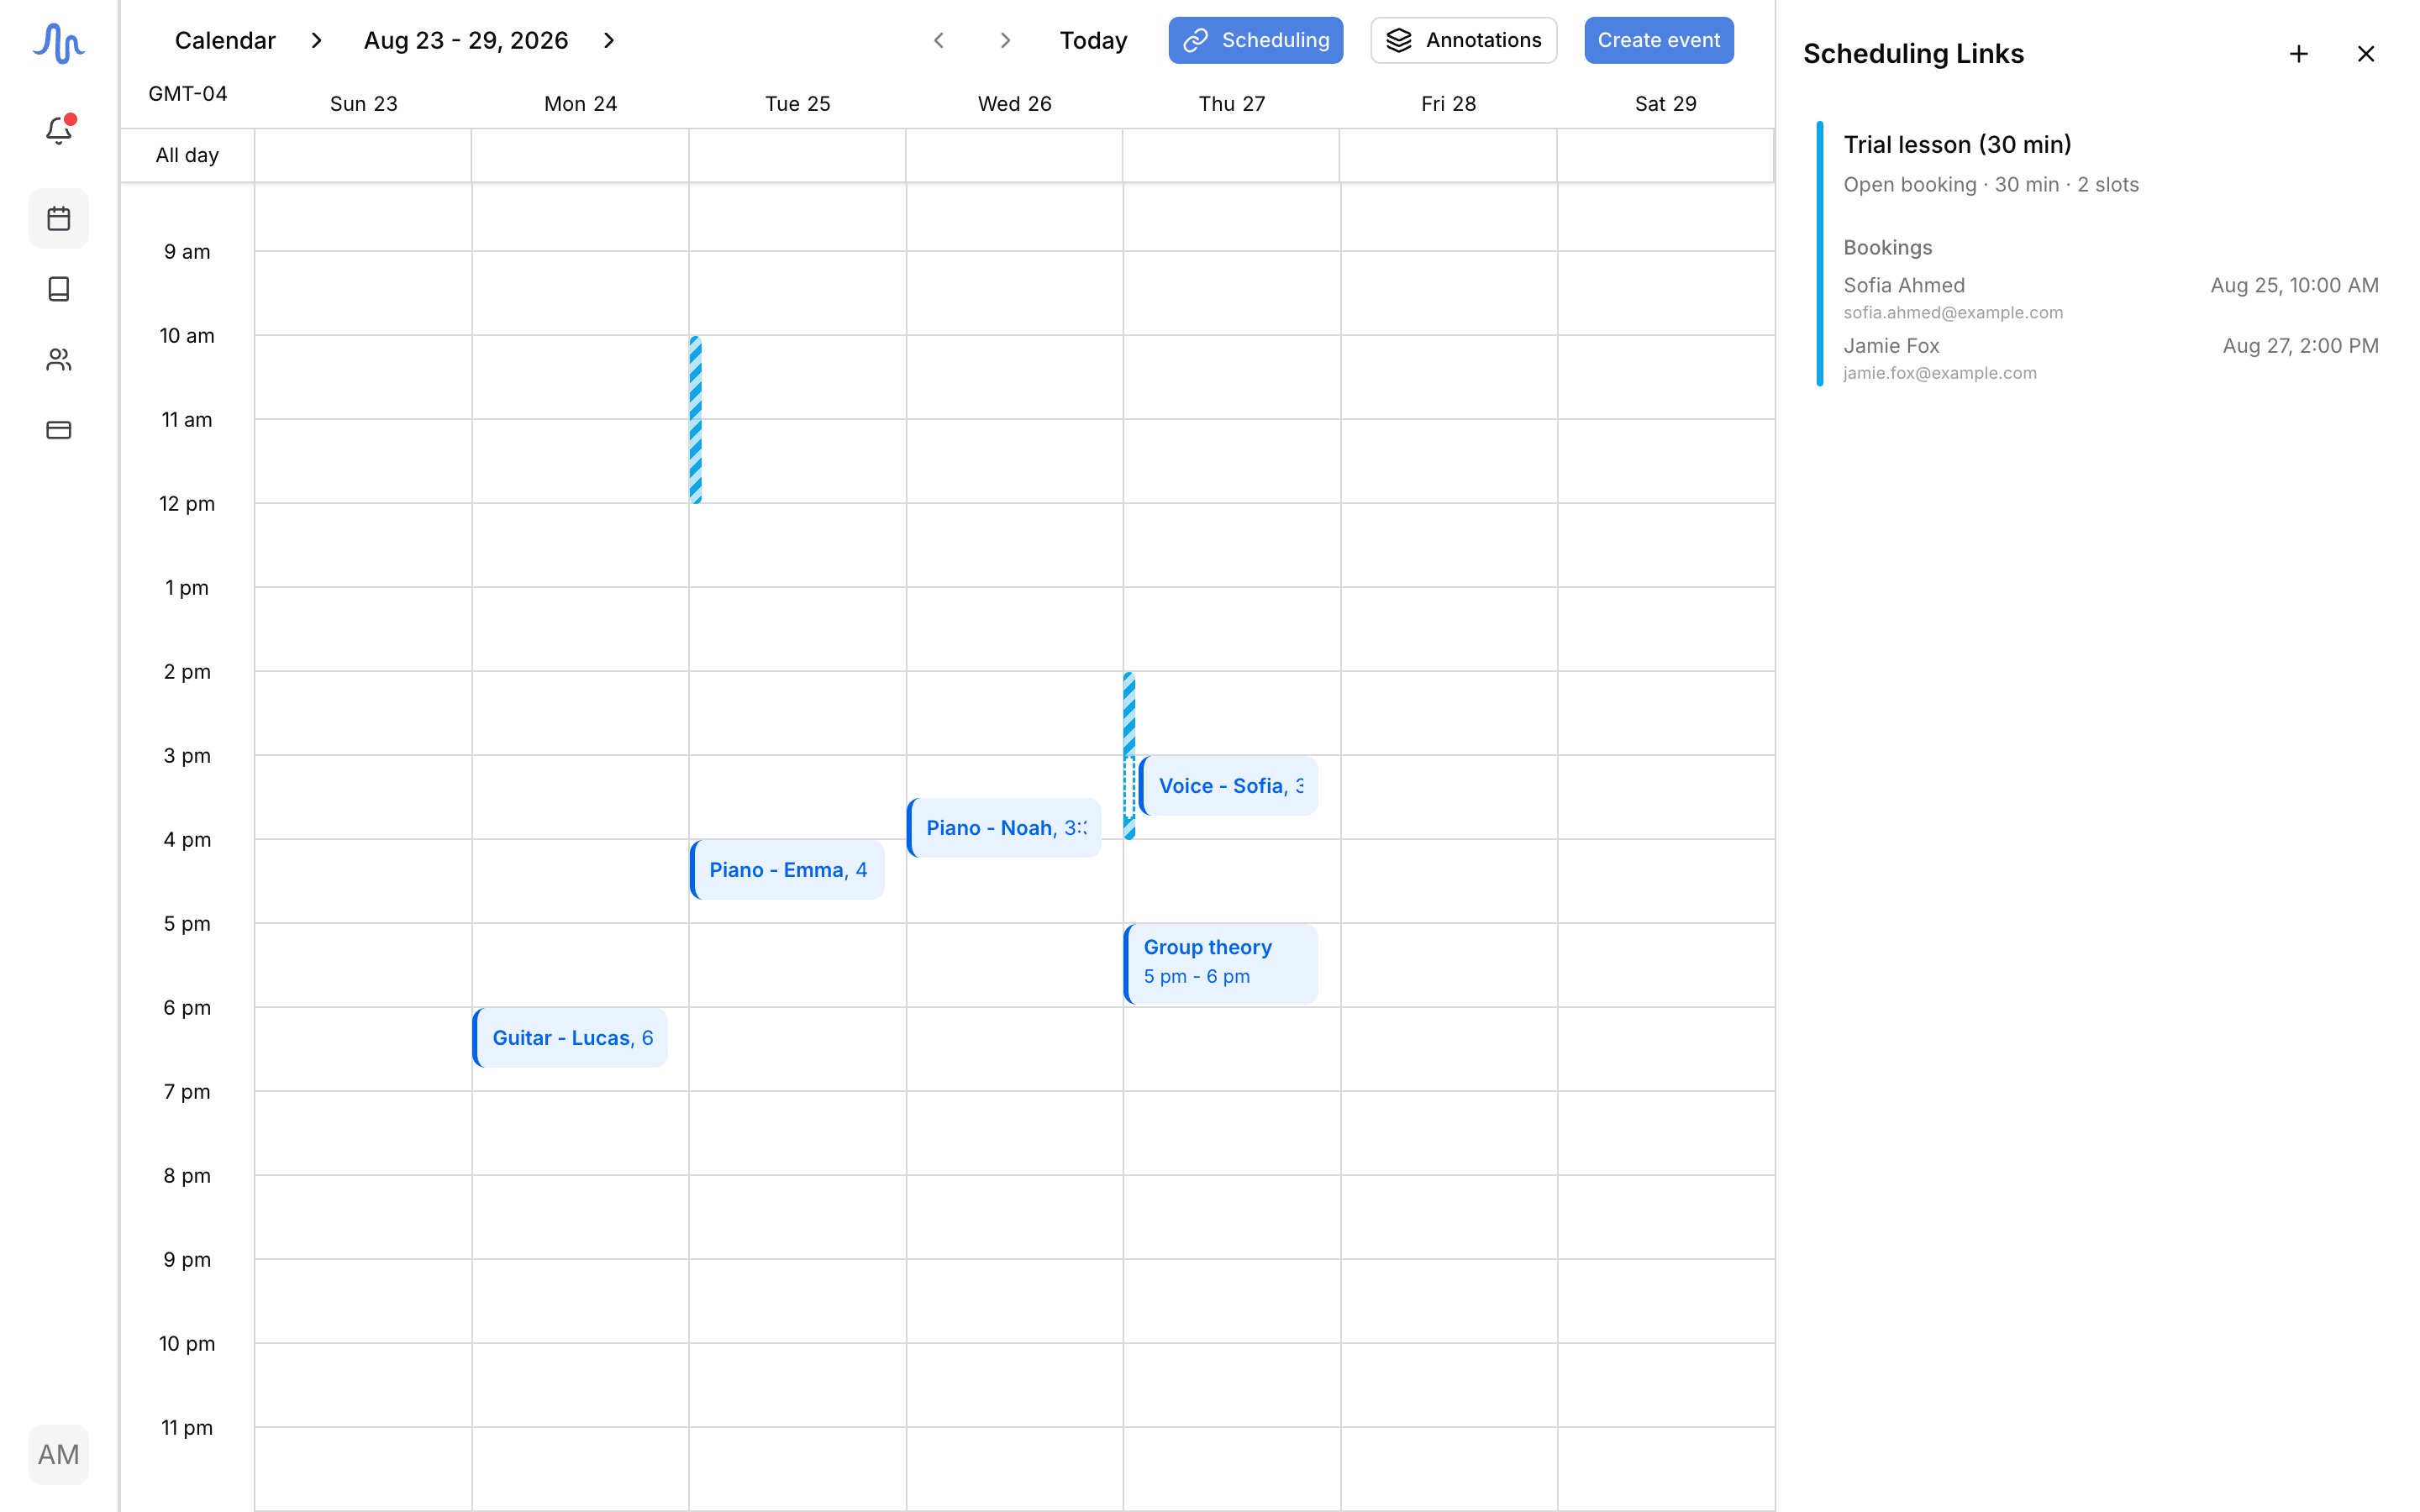
Pause or delete a link
- Pause stops new bookings without removing the link. Resume it any time, for example to stop taking bookings for a stretch.
- Delete removes the link and its bookings for good. If a booking is still waiting in your queue, pause instead: deleting takes that work with it.
Move an existing event instead
To move an event that’s already on your calendar (rather than offer open times for a new booking), use a reschedule link. It’s a single-use link tied to one event: the student picks a new time and the event moves to it.Review pending bookings
When a booking is set to become a lesson, it waits in Pending Bookings at the top of the Scheduling panel so you can tie it to the right student. The event itself is already on your calendar; this step is about who it belongs to. Each booking shows the booker’s name, email, time, and link. Harness checks the email against your roster and flags one of two states:- Matches [Name]: the email lines up with a student you already have.
- New contact: no match yet.
Booking surprises (a slot booked over your day off, a booking that doesn’t look like a lesson) are covered in Calendar troubleshooting.