
The two panes
- Agenda (left): everything in the current view as cards, grouped by day in time order. In Month view the day groups start collapsed to keep the list scannable; today and Unscheduled stay open.
- Grid (right): your days laid out as columns with an all-day strip across the top, or as a month of day cells in Month view.
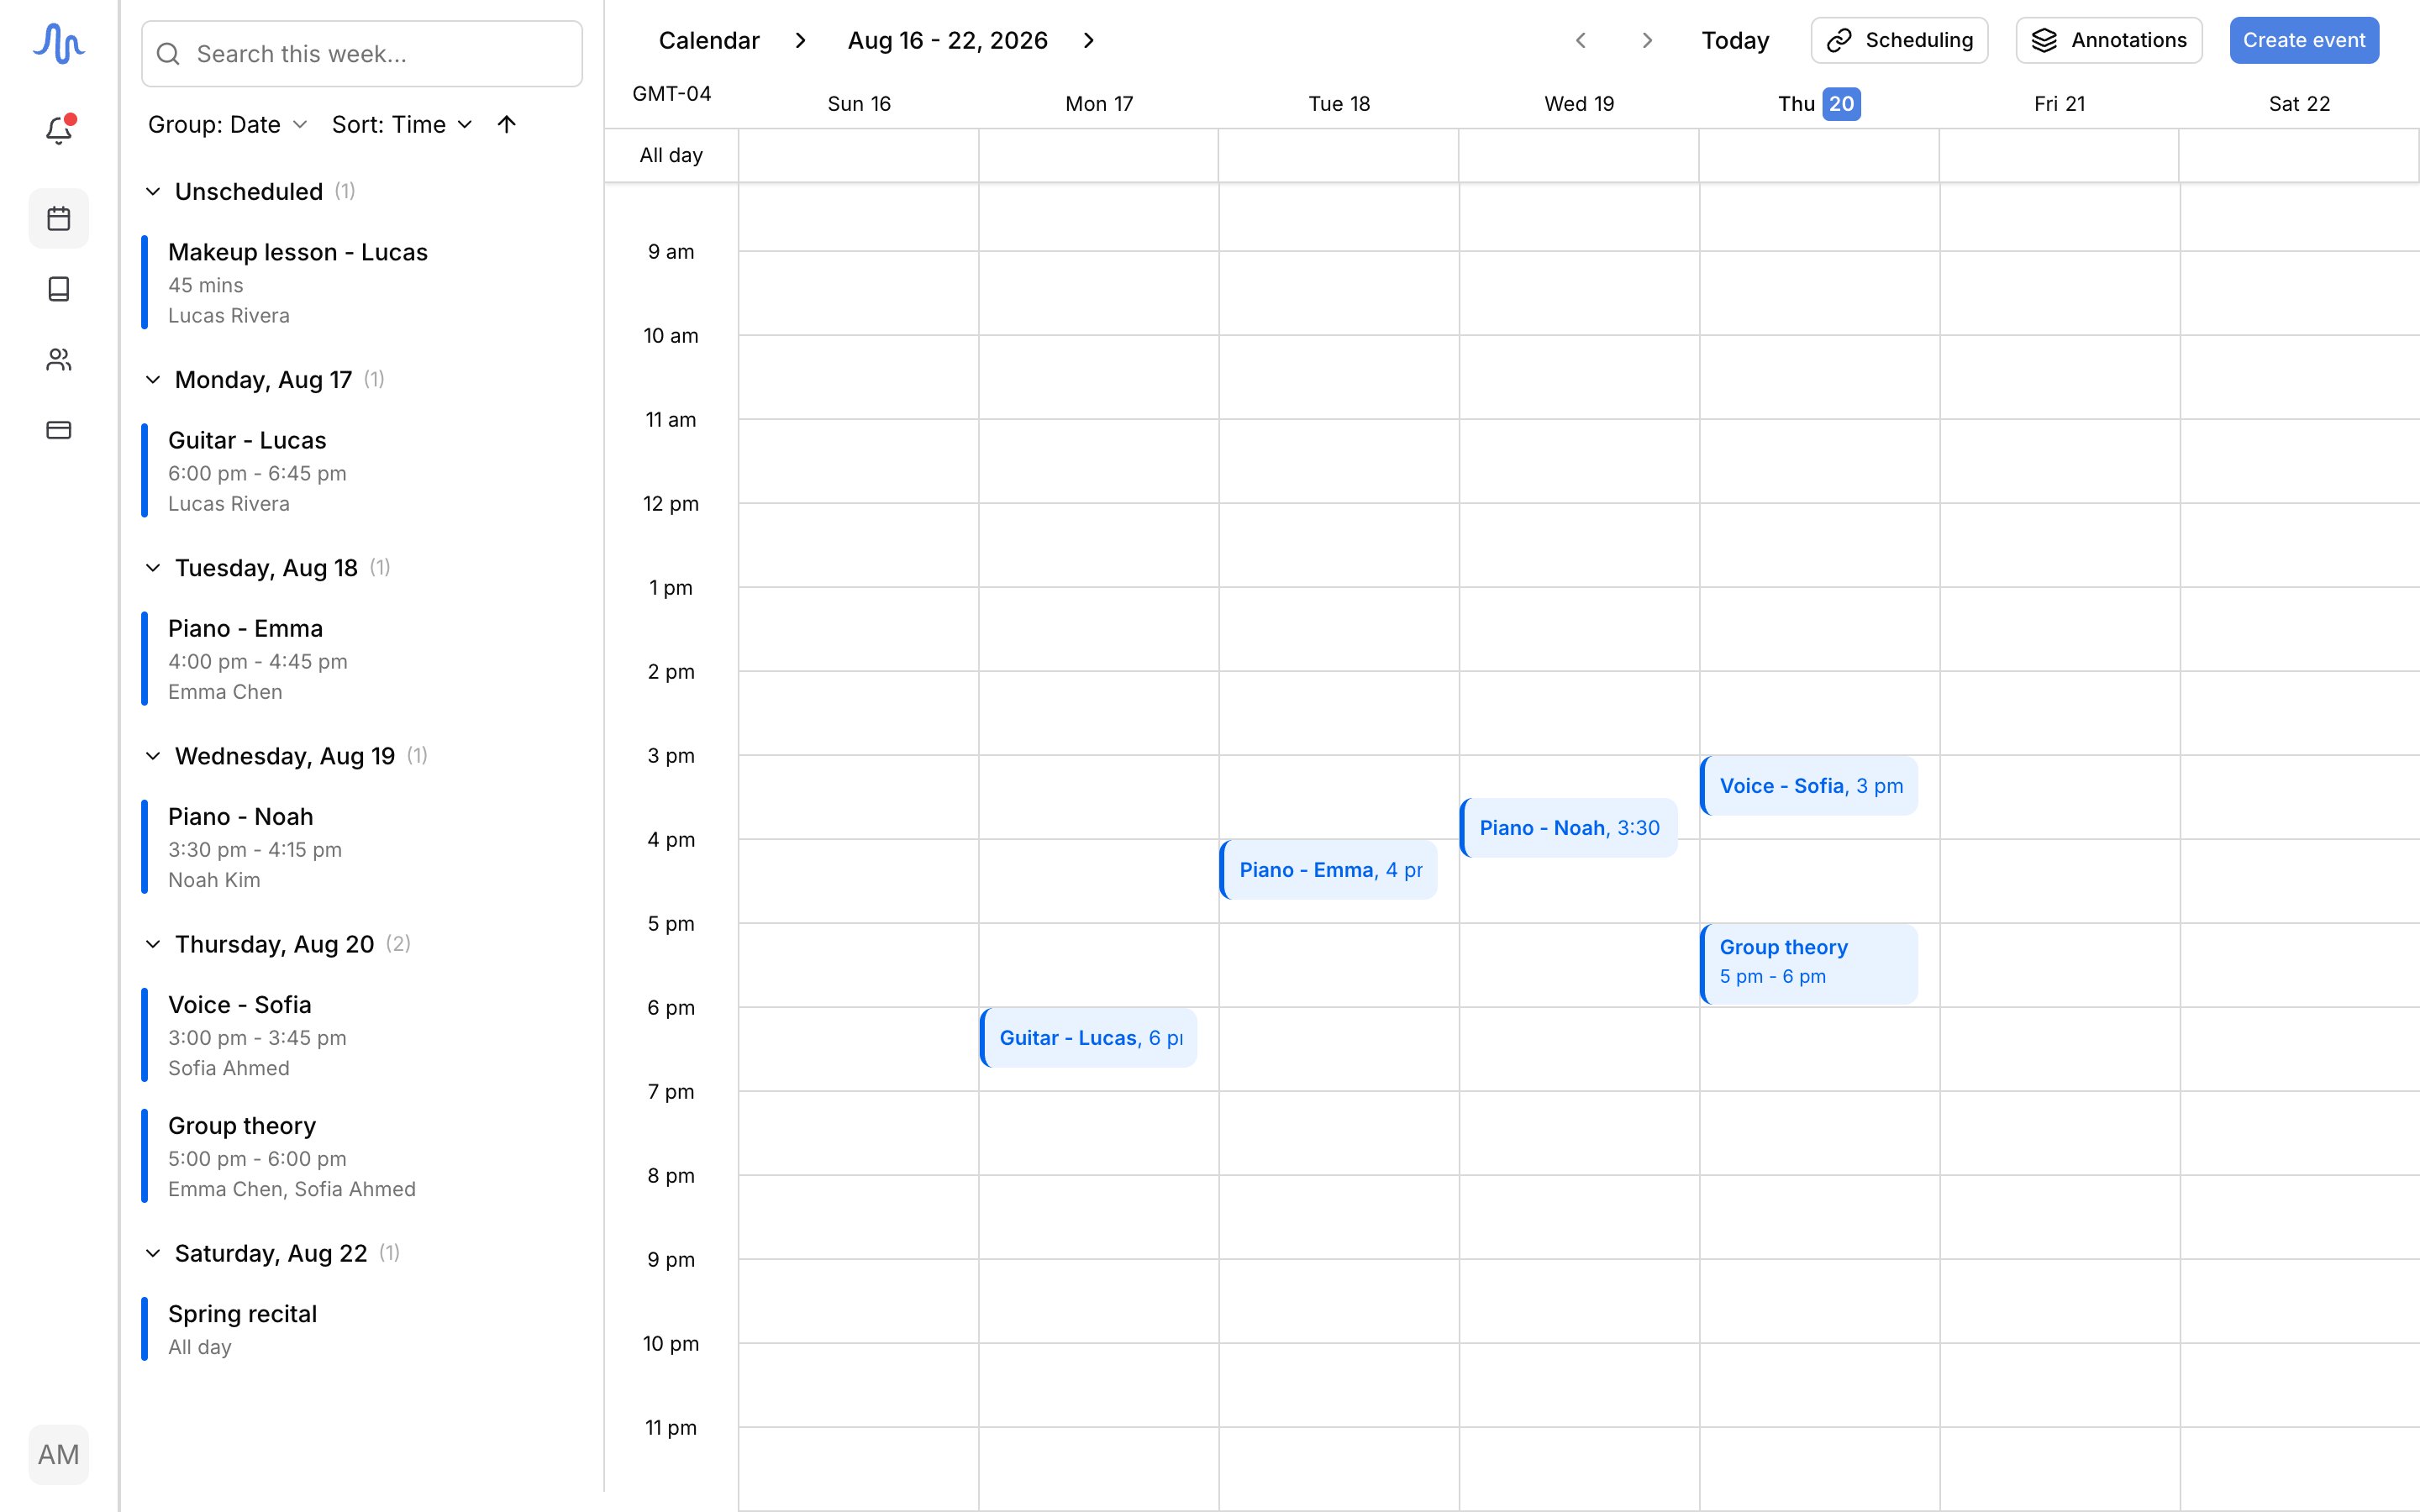
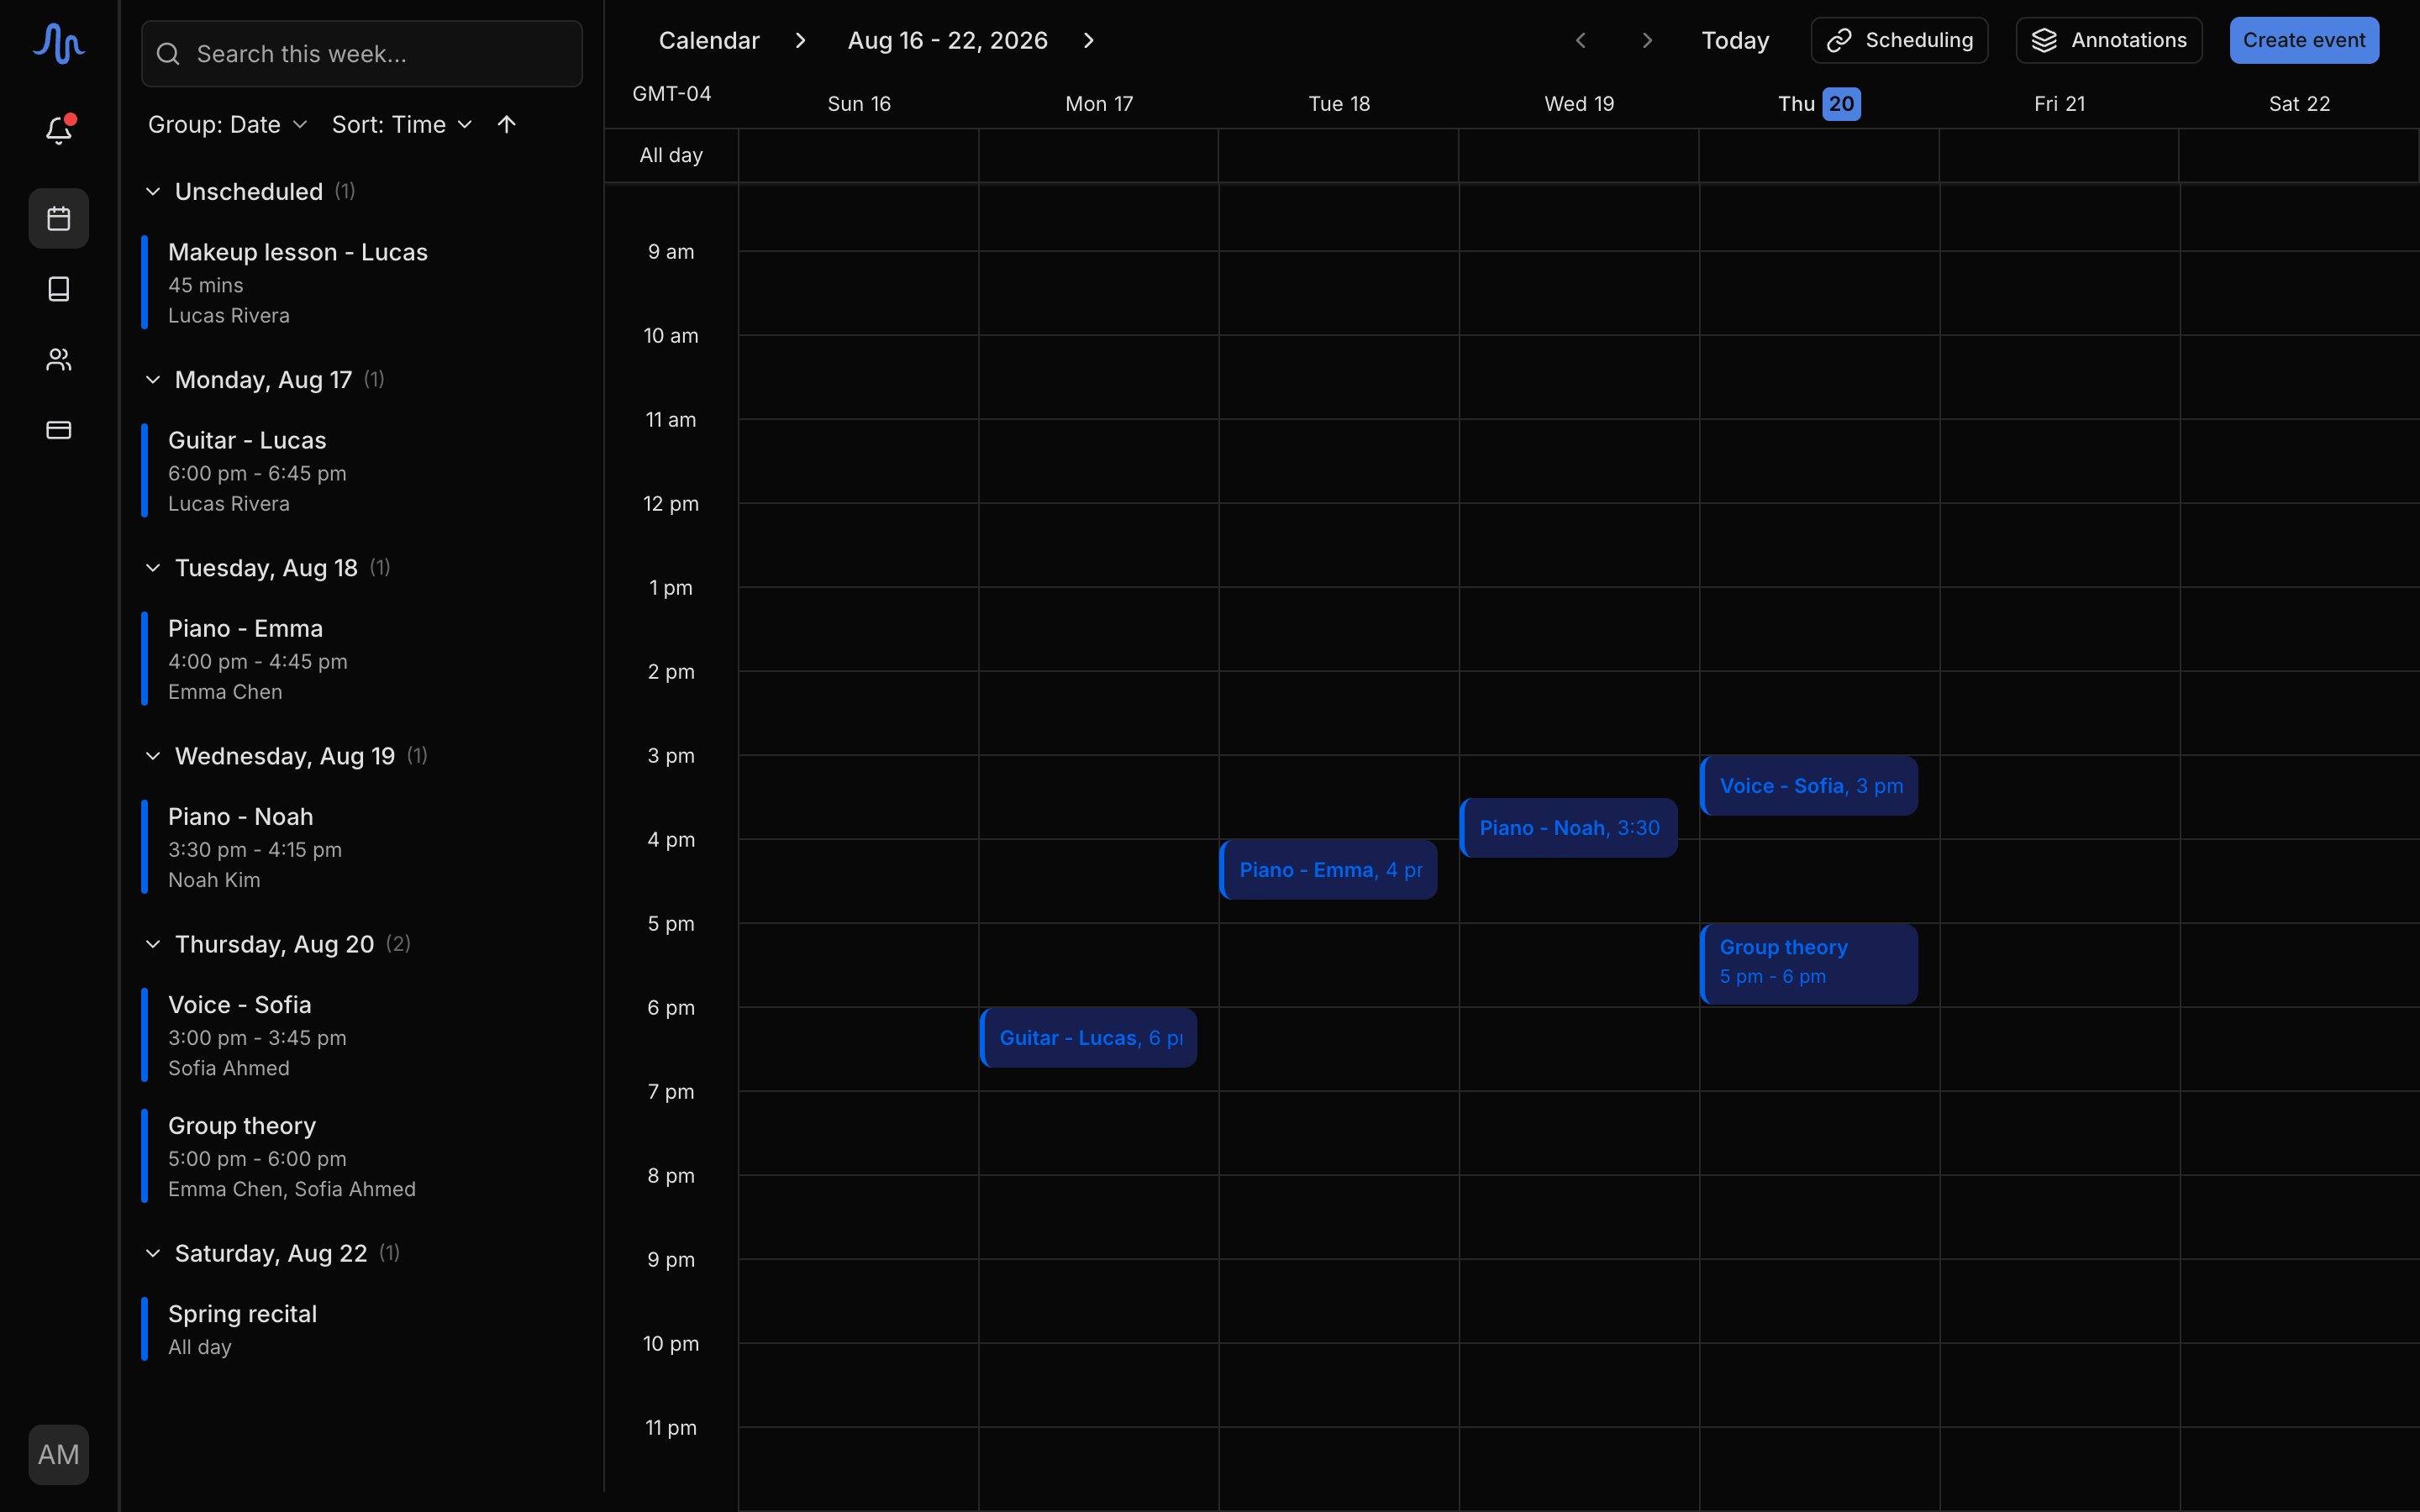
On a phone you see the agenda only. The grid, the all-day strip, and
drag-and-drop are on desktop and tablet.
Pick a view
Open the Calendar menu in the header to switch views.Move through time
- Step forward or back with the arrows in the header (or
jandk). The step matches the view: a day, a week, your visible-day window, or a month. - Jump to today with the Today button (or
t). - Jump to any date: click the date label in the header to open a mini calendar and pick a day.
- Zoom with
Cmd+/Cmd−(Ctrlon Windows) to make the grid’s hours taller or shorter. Zoom changes only the row height, never any times.
? in the app.
Times follow your studio timezone
All times follow your studio timezone, set in Settings → Profile, never your device’s clock. The gutter left of the grid shows your offset (for example,GMT-07), so the times you see are the times your students see. Your week stays anchored to the studio timezone wherever you travel.