
Before you start
- You add an expense from Finances → Transactions.
- An expense is a studio cost. It’s separate from what students owe: recording one never changes an account’s balance.
Record an expense
1
Open the expense form
Go to Finances → Transactions, then use Add Transaction → Expense. The Add expense form opens.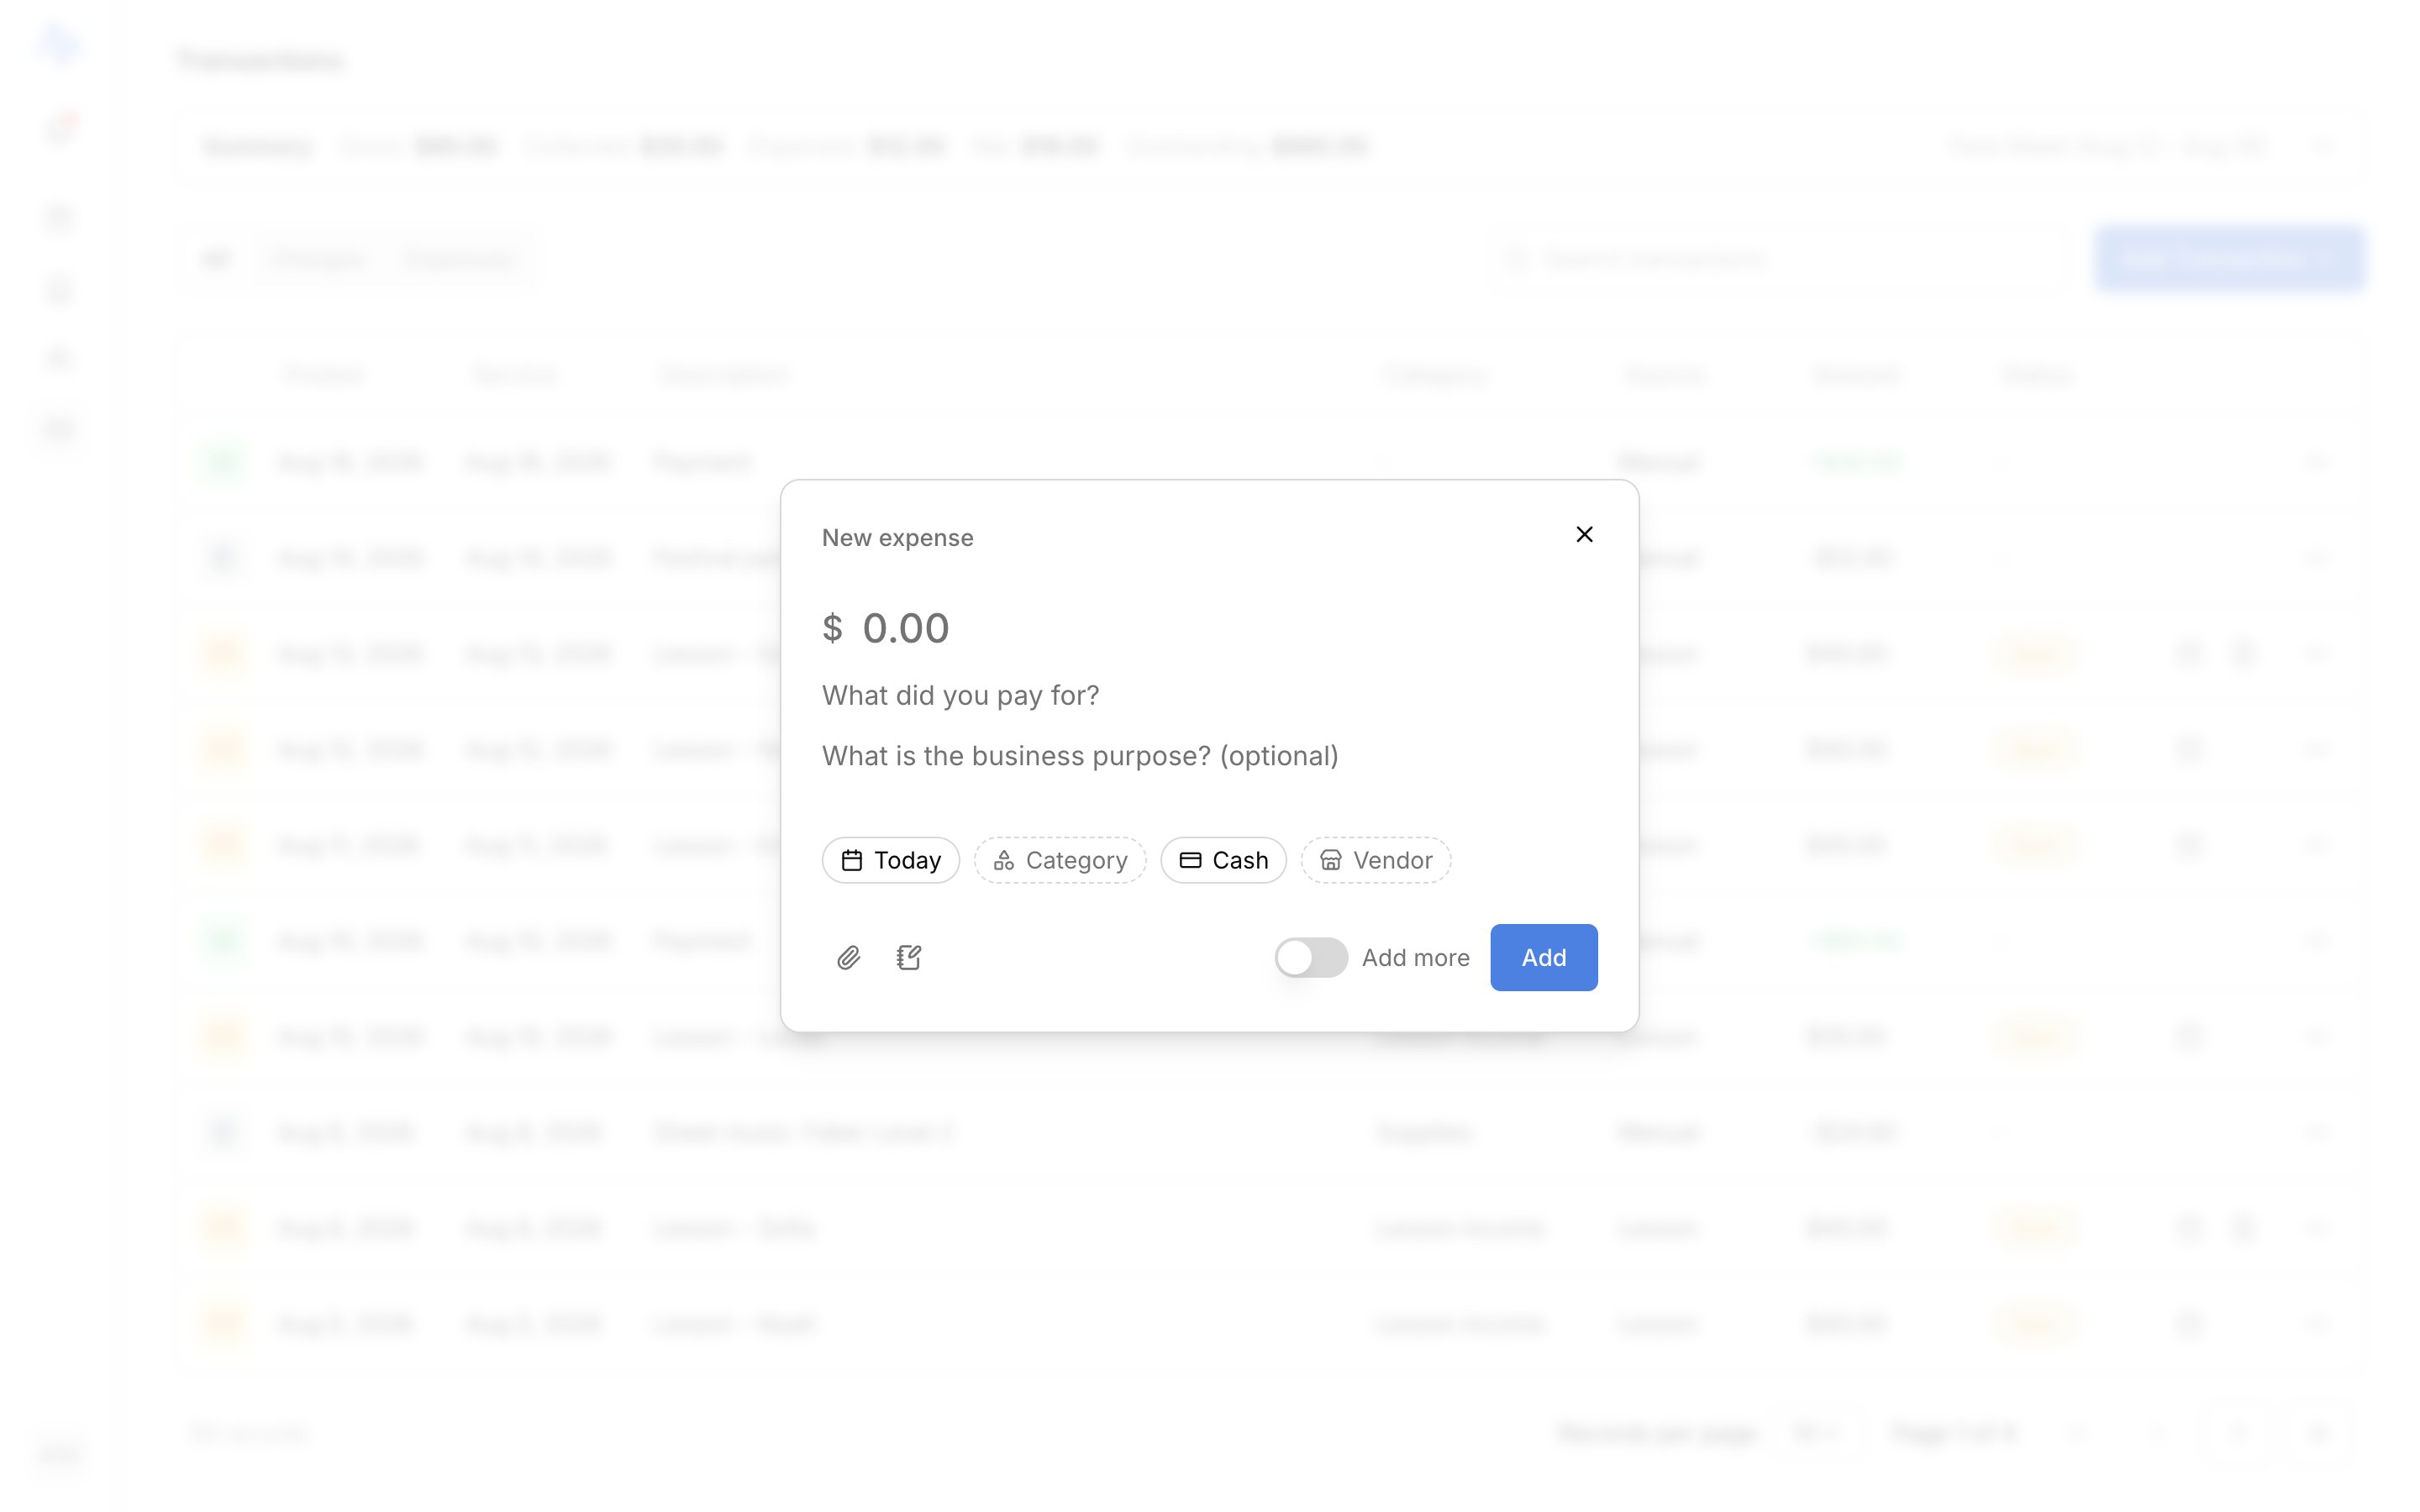

2
Choose a category
Pick a Category. It’s required, and your choice can reveal a few extra fields. See Categories and Some categories ask for more below.
3
Enter the amount, date, and description
Set the Amount, the Date the money was spent (defaults to today), and a short Description. All three are required.
4
Add the optional details
Fill in any of these:
- Vendor: who you paid. Recommended for tax records, and it autocompletes from vendors you’ve used before.
- Method: how you paid (Cash, Check, Card, Bank transfer, Digital payment, or Other).
- Notes: anything else worth keeping.
5
Attach a receipt (optional)
Add a Receipt under Receipts. Harness nudges you to attach one for larger amounts or for travel, the records most worth keeping for taxes.
6
Save
Click Add Expense. It lands on your Transactions list right away.
Categories
The Category picker is grouped so the tax distinction is clear as you choose:- Schedule C lines: the deductible IRS Schedule C business-expense categories, in tax-form order (for example Supplies, Rent or lease, Office expenses).
- Non-deductible business expense: a separate group for real studio costs that don’t reduce your taxable income.
Some categories ask for more
A few categories reveal more fields for tax records:- Meals: adds Attendees (who was there and your relationship to them). Required.
- Travel: adds a Destination plus Start and End dates. All required.
- Car & truck: adds a Vehicle picker. Required. If you don’t have a vehicle on file yet, you’re prompted to add one right there. See Track mileage.
FAQ
Do expenses affect what students owe?
Do expenses affect what students owe?
No. An expense is a studio cost, separate from billing. Recording one never changes any account’s balance or what a student owes.